My vintage build
Moderators: pompeiisneaks, Colossal

Re: My vintage build
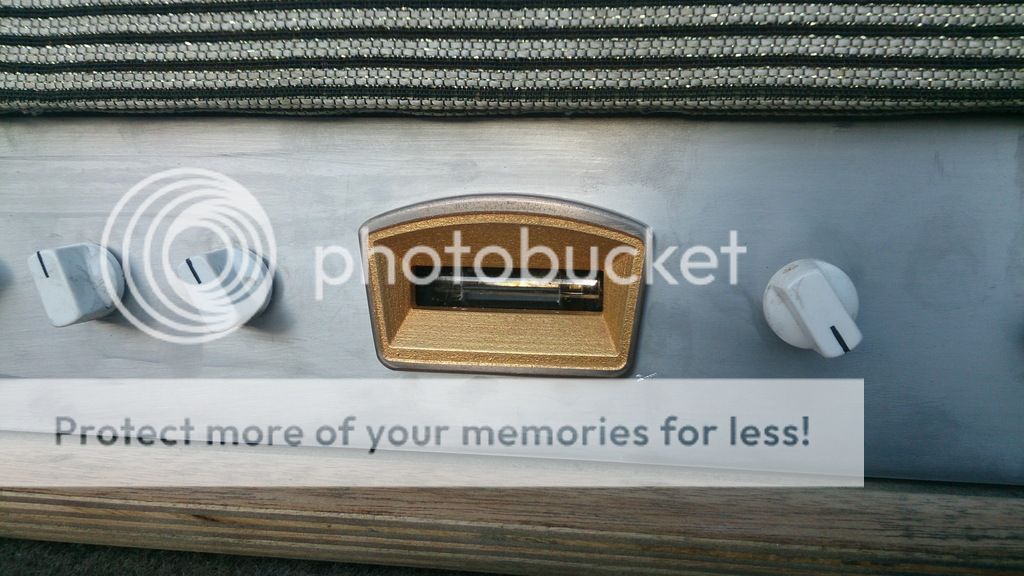
Very cool. Was that bezel printed in plastic, and then cast in metal? And then painted?
I build and repair tube amps. http://amps.monkeymatic.com
-
WastedProps
- Posts: 18
- Joined: Thu Feb 05, 2015 4:49 am
Re: My vintage build
Some more recent shots from yesterday.


-
WastedProps
- Posts: 18
- Joined: Thu Feb 05, 2015 4:49 am
Re: My vintage build
no no xtian, it was printed in metal then plated in 9ct gold. had it done in metal straight from the printer... no casting involvedxtian wrote:Very cool. Was that bezel printed in plastic, and then cast in metal? And then painted?
Re: My vintage build
Not that I have much experience with this stuff.......but that is the first "Magic Eye" that goes in a vertical or horizontal, that I have seen.
Was that common at one time.?
I have only seen (the few that I have) the round iterations.
Very nifty looking build btw.
Was that common at one time.?
I have only seen (the few that I have) the round iterations.
Very nifty looking build btw.
-------------------------------------
https://www.youtube.com/watch?v=zhvDOxvfvhw
https://www.youtube.com/watch?v=KWXulD-gxuw @ 1:40
https://www.youtube.com/watch?v=iTxaQu4NfI8
https://www.youtube.com/watch?v=_BSCS_hl0iA
https://www.youtube.com/watch?v=zhvDOxvfvhw
https://www.youtube.com/watch?v=KWXulD-gxuw @ 1:40
https://www.youtube.com/watch?v=iTxaQu4NfI8
https://www.youtube.com/watch?v=_BSCS_hl0iA
-
WastedProps
- Posts: 18
- Joined: Thu Feb 05, 2015 4:49 am
Re: My vintage build
It's the most common that i can find. if you search EM84 that will give you more examples.
I had one of these
Trace Elliot used the Magic Eye horizontal to indicate gain. the bars approached the center from either side to indicate drive. It was okay but too sterile and the control knobs were broken by someone that put solid shaft knobs onto split shaft controls and cranked them down..
https://www.youtube.com/watch?v=GGtqg1xRkEs
I'm sure you've learned lots on your build. You will definitely want to use a current limiter such as the light bulb limiter or a variac on power up. Have you read the start up procedure for new builds?
As for switching matrix's there are plenty of examples found on schematics. Peavey Roadmaster would be one I'm familiar with. However you will need to get the LDR's for the circuit. You might want to get each amp going first though before mixing the outputs..
silverfox.
-
WastedProps
- Posts: 18
- Joined: Thu Feb 05, 2015 4:49 am
Re: I had one of these
I've skimmed over a few startups, but I'll be getting my local tech to do the initial power up.SilverFox wrote:...I'm sure you've learned lots on your build. You will definitely want to use a current limiter such as the light bulb limiter or a variac on power up. Have you read the start up procedure for new builds?
As for switching matrix's there are plenty of examples found on schematics. Peavey Roadmaster would be one I'm familiar with. However you will need to get the LDR's for the circuit. You might want to get each amp going first though before mixing the outputs..
silverfox.
yeah I think I'll be getting both amps working before I try to combine them.
here's an update.:
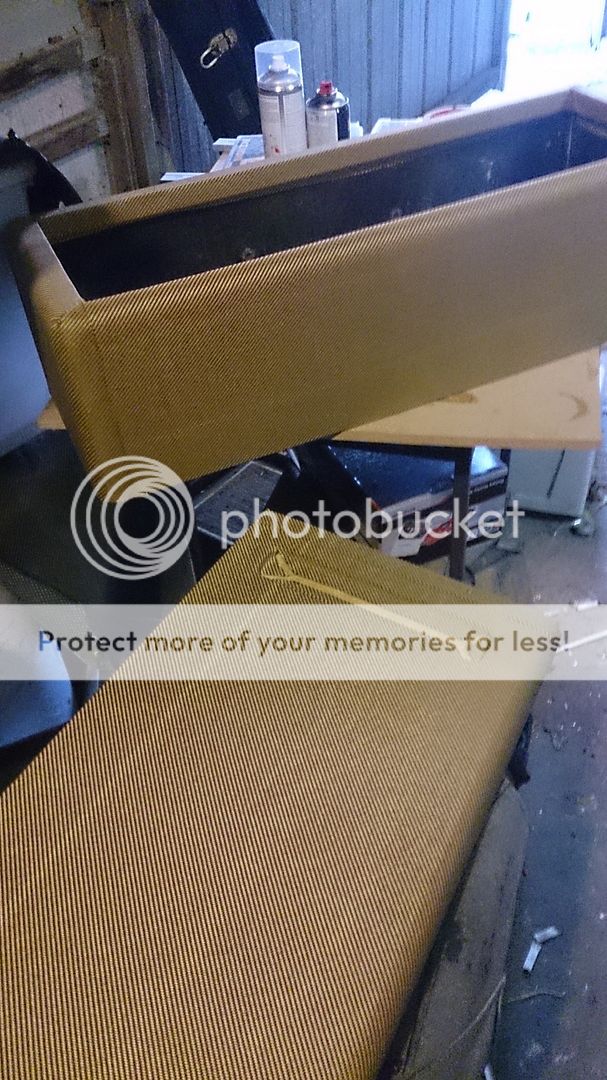
so I decided to cover the tweed myself, I was going to get a friend who is an upholsterer to do it, but I hate waiting on other people to do stuff...
did my best to square up a strip.
[IMG
 1821]http://i394.photobucket.com/albums/pp21 ... o6pgbm.jpg[/img]
made up a template out of heavy paper and transferred it to the tweed.
[IMG
1821]http://i394.photobucket.com/albums/pp21 ... sv95jh.jpg[/img][IMG
1821]http://i394.photobucket.com/albums/pp21 ... 7bv9co.jpg[/img]rough fitted it.
[IMG
1821]http://i394.photobucket.com/albums/pp21 ... rhnnyz.jpg[/img]I missed getting pics of the gluing process, but I used water based selly's quikgrip, after alot of people recommending water based contact adhesive.
turned out ok, corners will be covered up with bolt ons.
[IMG
576]http://i394.photobucket.com/albums/pp21 ... 5dwwmu.jpg[/img][IMG
576]http://i394.photobucket.com/albums/pp21 ... sfyw0i.jpg[/img]-
WastedProps
- Posts: 18
- Joined: Thu Feb 05, 2015 4:49 am
Re: My vintage build
had trouble witht he tweed sitting flat, could have been me trying to rush the dry time of the glue with a heatgun/ambient temperatures etc etc. not exactly the finish i wanted... but i spose it looks like it's been beaten up a bit.
the shellac's methylated spirits seems to have reacted in spots with the underlying glue too. oh well.... shit happens i guess.
brushed 5 coats of thinned shellac, then finished with a coat of varnish.
[IMG 1821]http://i394.photobucket.com/albums/pp21 ... qx0jd3.jpg[/img]
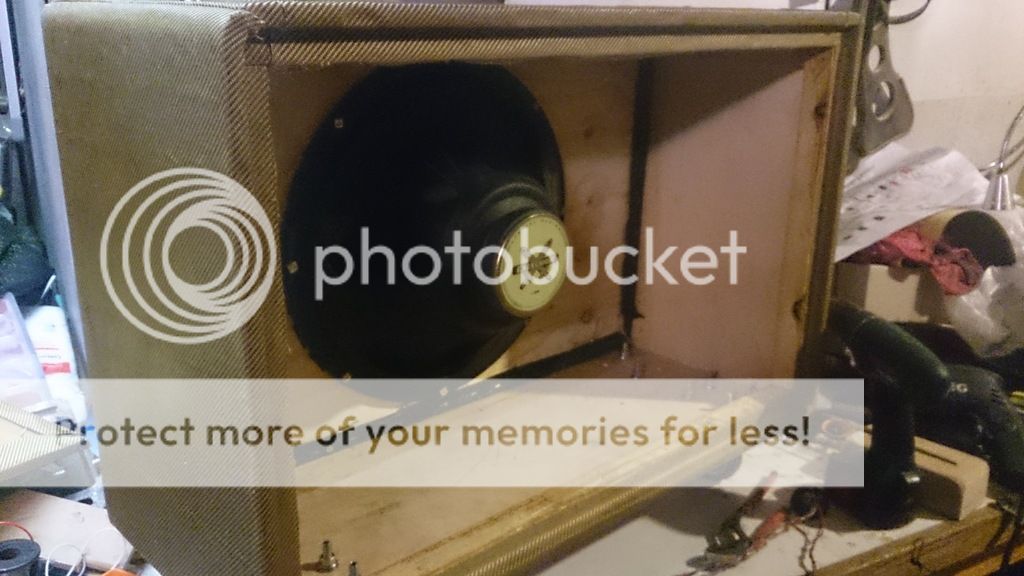
fitted the speaker and casters
[IMG576]http://i394.photobucket.com/albums/pp21 ... kjoqu3.jpg[/img]
test fitted the back grille (also removed from the old TV). I'll be framing this with a ply back.
[IMG576]http://i394.photobucket.com/albums/pp21 ... kp9fqb.jpg[/img]
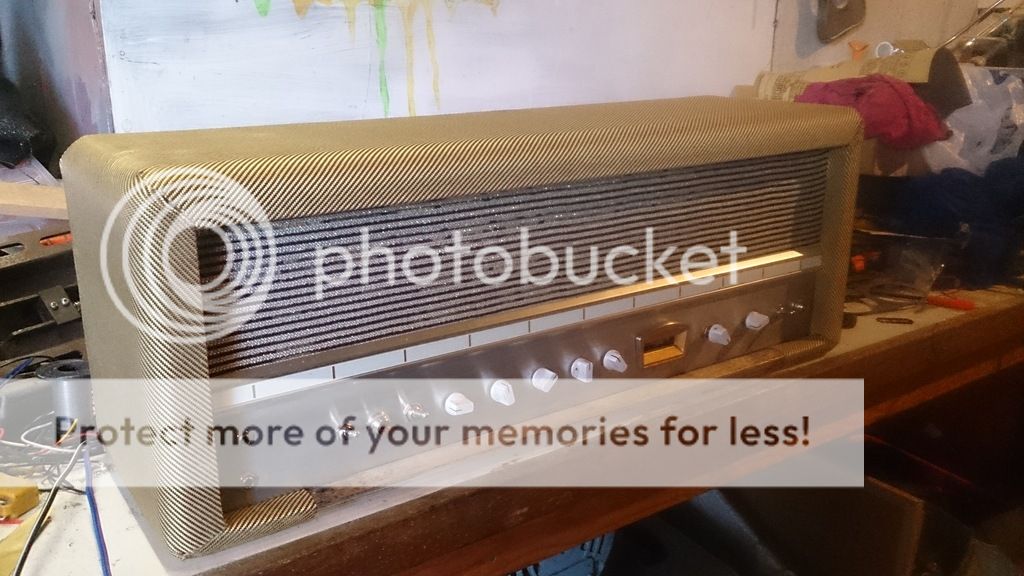
this is how she stands now... just waiting on the final touches of hardware. handle, corners, covers and piping.
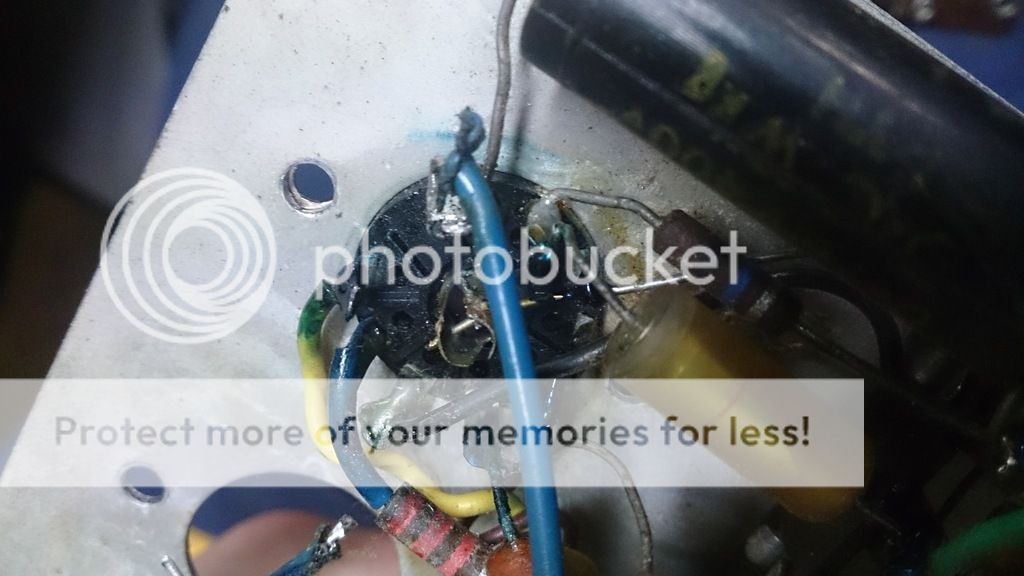
oh, and the finishing wiring
[IMG1821]http://i394.photobucket.com/albums/pp21 ... ow7rkm.jpg[/img]
the shellac's methylated spirits seems to have reacted in spots with the underlying glue too. oh well.... shit happens i guess.
brushed 5 coats of thinned shellac, then finished with a coat of varnish.
[IMG
1821]http://i394.photobucket.com/albums/pp21 ... qx0jd3.jpg[/img]fitted the speaker and casters
[IMG
576]http://i394.photobucket.com/albums/pp21 ... kjoqu3.jpg[/img]test fitted the back grille (also removed from the old TV). I'll be framing this with a ply back.
[IMG
576]http://i394.photobucket.com/albums/pp21 ... kp9fqb.jpg[/img]this is how she stands now... just waiting on the final touches of hardware. handle, corners, covers and piping.
oh, and the finishing wiring
[IMG
1821]http://i394.photobucket.com/albums/pp21 ... ow7rkm.jpg[/img]-
WastedProps
- Posts: 18
- Joined: Thu Feb 05, 2015 4:49 am
Re: My vintage build
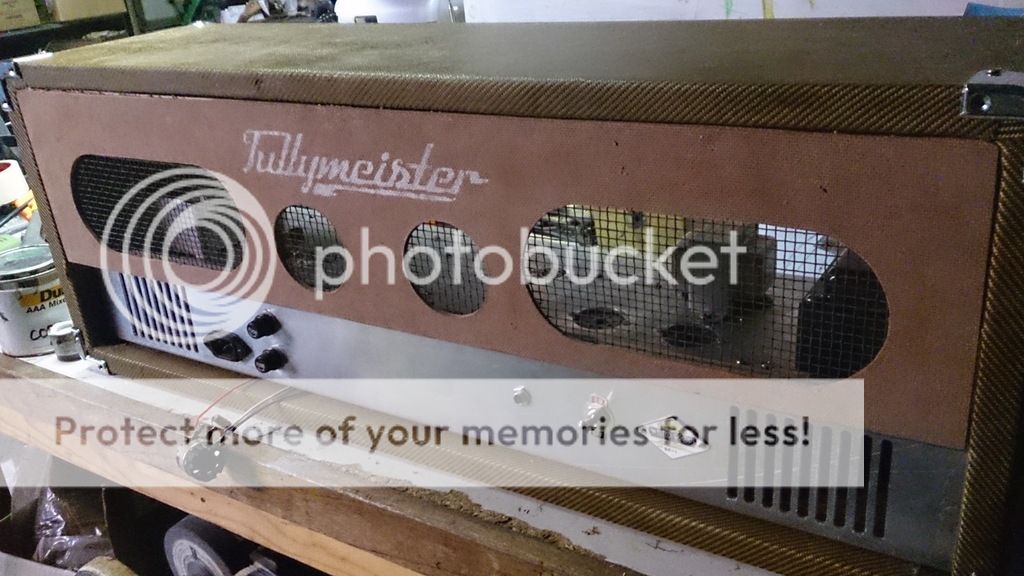
So here's a little update so far on the build...
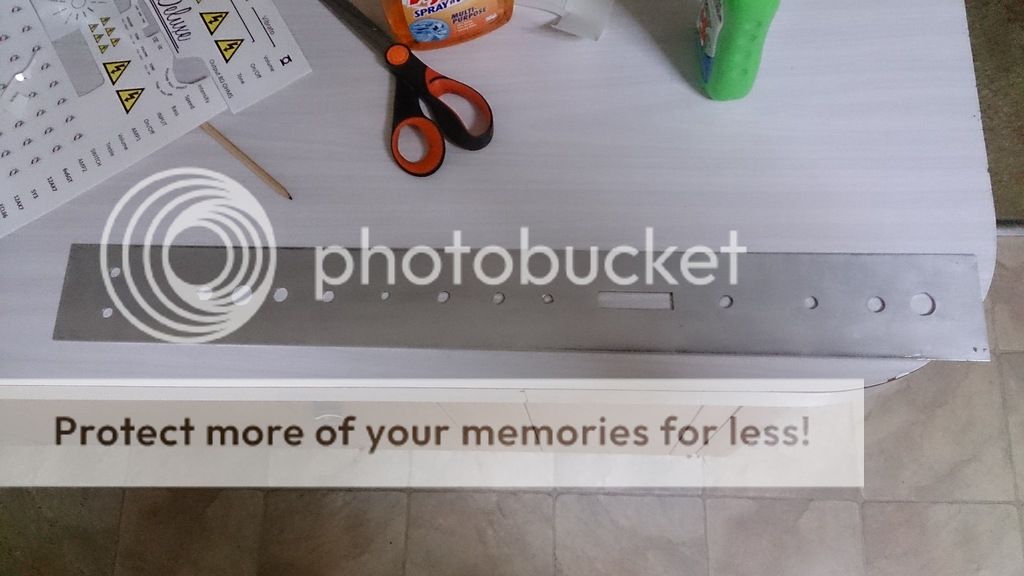
prepping the face plate for the decals.
[img576]http://i394.photobucket.com/albums/pp21 ... uqkbpy.jpg[/img]
using waterslide decals that I'll seal with clear once done.
[img576]http://i394.photobucket.com/albums/pp21 ... vxwiby.jpg[/img]
[img576]http://i394.photobucket.com/albums/pp21 ... vdikoq.jpg[/img]
pretty much done.
[img576]http://i394.photobucket.com/albums/pp21 ... gnsfns.jpg[/img]
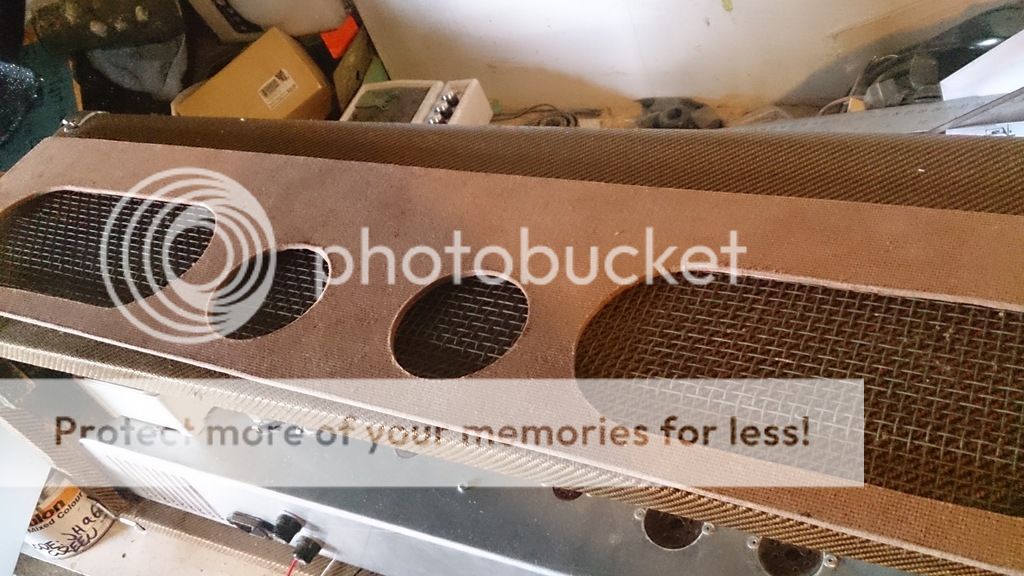
Strarted building a rear cover, using the recycled grille mesh from the old TV. I wanted it to look autentic, so I used textured masonite and cut nice big ventilation holes.
[img576]http://i394.photobucket.com/albums/pp21 ... 3pul8w.jpg[/img]
with old TV's and radios you usually see them screen printed with white writing etc. I don't have access to screen printing equipment unfortunately, so I made up a quick stencil and dabbed on white paint.
[img576]http://i394.photobucket.com/albums/pp21 ... xjcqce.jpg[/img]
rough fitted it.
[img576]http://i394.photobucket.com/albums/pp21 ... sg53r7.jpg[/img]
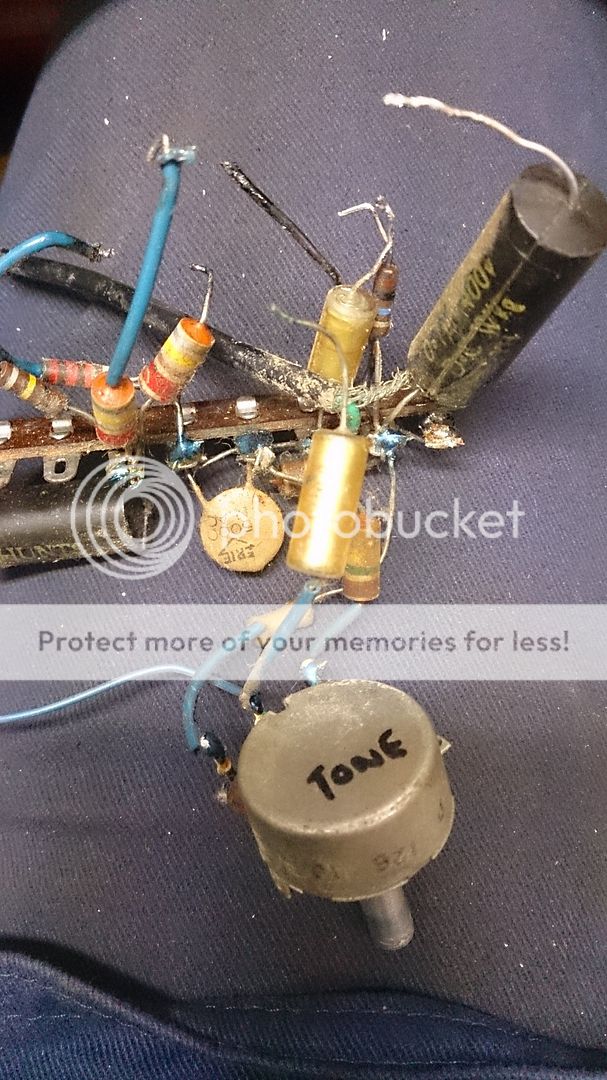
just waiting to fit the attenuator resistors tomorrow night, then it's checking wiring time.
prepping the face plate for the decals.
[img
576]http://i394.photobucket.com/albums/pp21 ... uqkbpy.jpg[/img]using waterslide decals that I'll seal with clear once done.
[img
576]http://i394.photobucket.com/albums/pp21 ... vxwiby.jpg[/img][img
576]http://i394.photobucket.com/albums/pp21 ... vdikoq.jpg[/img]pretty much done.
[img
576]http://i394.photobucket.com/albums/pp21 ... gnsfns.jpg[/img]Strarted building a rear cover, using the recycled grille mesh from the old TV. I wanted it to look autentic, so I used textured masonite and cut nice big ventilation holes.
[img
576]http://i394.photobucket.com/albums/pp21 ... 3pul8w.jpg[/img]with old TV's and radios you usually see them screen printed with white writing etc. I don't have access to screen printing equipment unfortunately, so I made up a quick stencil and dabbed on white paint.
[img
576]http://i394.photobucket.com/albums/pp21 ... xjcqce.jpg[/img]rough fitted it.
[img
576]http://i394.photobucket.com/albums/pp21 ... sg53r7.jpg[/img]just waiting to fit the attenuator resistors tomorrow night, then it's checking wiring time.
-
WastedProps
- Posts: 18
- Joined: Thu Feb 05, 2015 4:49 am
Re: My vintage build
Gentlemen, I apologise for the gap in communication... It's been a very hektic past few months. I'm not sure if I had mentioned before but I build theatrical props as a business off the side and have recently been taken on by a film company by a stroke of dumb luck I'd say...
Also, I have been moving house/shed and haven't had a chance to finish my main build, so instead have been working on another little side project building a little vintage tube amp for my brother for his birthday coming up.
I bought a little orphan amplifier from a guy I deal with on ebay, he didn't know anything about it, as there was no markings on the chassis or anything. only thing i really knew about it was it ran an EZ80 rectifier, EL34 and a 12ax7, (which I found later replaced the original ECC83) I researched the shit out of it to find my little gem was a Selmer 'little giant' mk1. a perfect base for a little combo.
I also sourced a little combo cab of unknown origin and a celestian super 8 speaker from the same bloke.
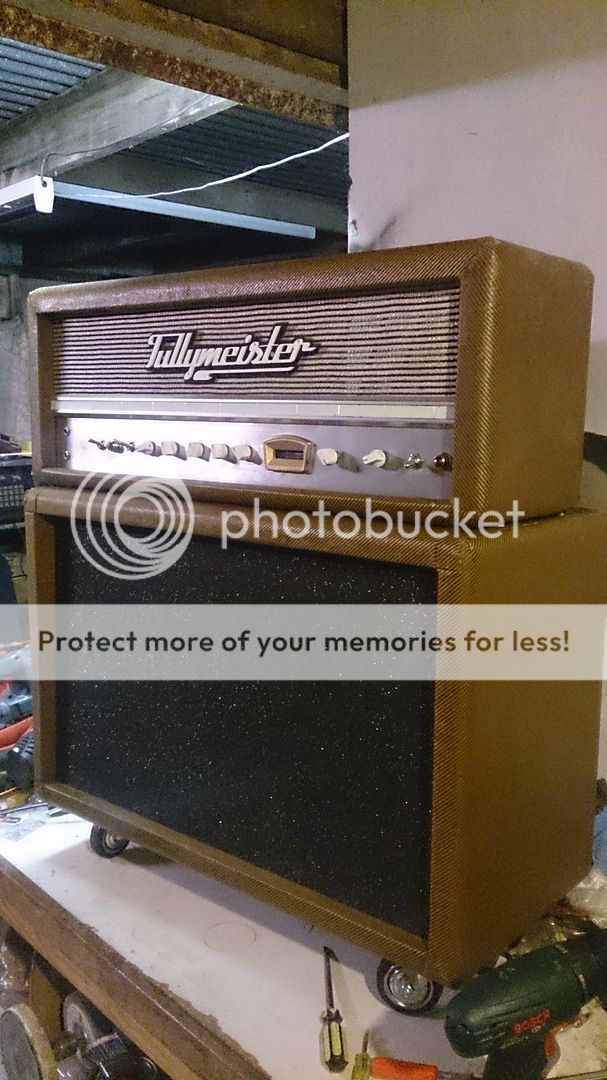
so as I wanted this amp to be a bit of a family heirloom down the track I thought I'd adorn it with my (now signature... he he) Tullymeister tag. So I had the chassis plasma cut from aluminum with my label.
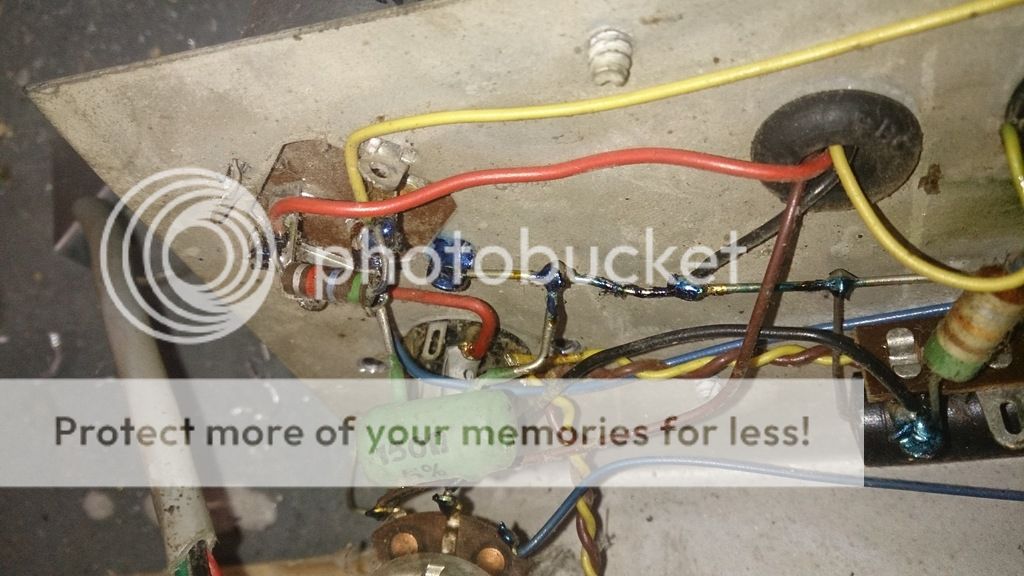
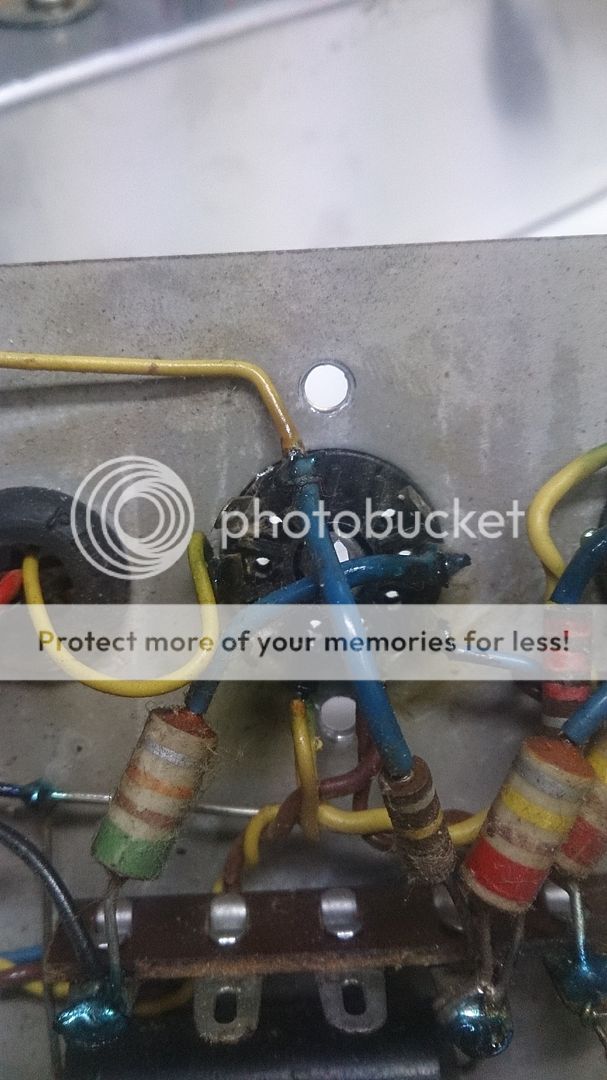
this build is much simpler then my last one, and I'm more proud of theintern als. I know I haven't changed anything around from the original layout, but even just keeping everything neat in the transfer, makes me happy.
so here's the pics of the build, not in order, but I hope you find it interesting... powered it on the other day and turns out the PT was shagged. so just sourced a replacement today and hoping to have it working over the weekend.
Enjoy.
[IMG576]http://i394.photobucket.com/albums/pp21 ... 3oguve.jpg[/img]
[IMG576]http://i394.photobucket.com/albums/pp21 ... f03rmh.jpg[/img]
[IMG576]http://i394.photobucket.com/albums/pp21 ... jqvkdo.jpg[/img]
[IMG576]http://i394.photobucket.com/albums/pp21 ... t2frah.jpg[/img]
[IMG1821]http://i394.photobucket.com/albums/pp21 ... xc2jhz.jpg[/img]
[IMG576]http://i394.photobucket.com/albums/pp21 ... ylfevh.jpg[/img]
[IMG1821]http://i394.photobucket.com/albums/pp21 ... sx86yp.jpg[/img]
[IMG1821]http://i394.photobucket.com/albums/pp21 ... xn2i64.jpg[/img]
[IMG576]http://i394.photobucket.com/albums/pp21 ... ozr21v.jpg[/img]
[IMG:800:600]http://i394.photobucket.com/albums/pp21 ... 3duuvw.jpg[/img]
[IMG768]http://i394.photobucket.com/albums/pp21 ... es6ogt.jpg[/img]
[IMG576]http://i394.photobucket.com/albums/pp21 ... kbj0rn.jpg[/img]
I also now have a 3d printer, so I was trialling a few techniques for a custom badge
[IMG576]http://i394.photobucket.com/albums/pp21 ... bs9kvq.jpg[/img]
[IMG576]http://i394.photobucket.com/albums/pp21 ... kbj0rn.jpg[/img]
Also, I have been moving house/shed and haven't had a chance to finish my main build, so instead have been working on another little side project building a little vintage tube amp for my brother for his birthday coming up.
I bought a little orphan amplifier from a guy I deal with on ebay, he didn't know anything about it, as there was no markings on the chassis or anything. only thing i really knew about it was it ran an EZ80 rectifier, EL34 and a 12ax7, (which I found later replaced the original ECC83) I researched the shit out of it to find my little gem was a Selmer 'little giant' mk1. a perfect base for a little combo.
I also sourced a little combo cab of unknown origin and a celestian super 8 speaker from the same bloke.
so as I wanted this amp to be a bit of a family heirloom down the track I thought I'd adorn it with my (now signature... he he) Tullymeister tag. So I had the chassis plasma cut from aluminum with my label.
this build is much simpler then my last one, and I'm more proud of theintern als. I know I haven't changed anything around from the original layout, but even just keeping everything neat in the transfer, makes me happy.
so here's the pics of the build, not in order, but I hope you find it interesting... powered it on the other day and turns out the PT was shagged. so just sourced a replacement today and hoping to have it working over the weekend.
Enjoy.
[IMG
576]http://i394.photobucket.com/albums/pp21 ... 3oguve.jpg[/img][IMG
576]http://i394.photobucket.com/albums/pp21 ... f03rmh.jpg[/img][IMG
576]http://i394.photobucket.com/albums/pp21 ... jqvkdo.jpg[/img][IMG
576]http://i394.photobucket.com/albums/pp21 ... t2frah.jpg[/img][IMG
1821]http://i394.photobucket.com/albums/pp21 ... xc2jhz.jpg[/img][IMG
576]http://i394.photobucket.com/albums/pp21 ... ylfevh.jpg[/img][IMG
1821]http://i394.photobucket.com/albums/pp21 ... sx86yp.jpg[/img][IMG
1821]http://i394.photobucket.com/albums/pp21 ... xn2i64.jpg[/img][IMG
576]http://i394.photobucket.com/albums/pp21 ... ozr21v.jpg[/img][IMG:800:600]http://i394.photobucket.com/albums/pp21 ... 3duuvw.jpg[/img]
[IMG
768]http://i394.photobucket.com/albums/pp21 ... es6ogt.jpg[/img][IMG
576]http://i394.photobucket.com/albums/pp21 ... kbj0rn.jpg[/img]I also now have a 3d printer, so I was trialling a few techniques for a custom badge
[IMG
576]http://i394.photobucket.com/albums/pp21 ... bs9kvq.jpg[/img][IMG
576]http://i394.photobucket.com/albums/pp21 ... kbj0rn.jpg[/img]Re: My vintage build
Cool project.
I understand that tweed is one of the hardest coverings to get right.
I understand that tweed is one of the hardest coverings to get right.
Tom
Don't let that smoke out!
Don't let that smoke out!
-
WastedProps
- Posts: 18
- Joined: Thu Feb 05, 2015 4:49 am
Re: My vintage build
sure is mate...! shit stuff to work withStructo wrote:Cool project.
I understand that tweed is one of the hardest coverings to get right.
-
Leo_Gnardo

- Posts: 2585
- Joined: Thu Sep 27, 2012 1:33 pm
- Location: Dogpatch-on-Hudson
Re: My vintage build
Good photo series 'props! And now I know where your moniker comes from, it all makes sense now.
Must make me one of those Selmers, I expect it's Champ-like but after I heard that's what Robin Trower used as an overdrive box on his gnarlier sounding Procol tracks (probably Repent Walpurgis & Whaling Stories, for instance), gotta do it. That's some killin' tone he got back then, awesomely juicy.
Must make me one of those Selmers, I expect it's Champ-like but after I heard that's what Robin Trower used as an overdrive box on his gnarlier sounding Procol tracks (probably Repent Walpurgis & Whaling Stories, for instance), gotta do it. That's some killin' tone he got back then, awesomely juicy.
down technical blind alleys . . .

Re: My vintage build
My post must have vanished 
So here it goes again, I'm enjoying your build very cool.
Mark
So here it goes again, I'm enjoying your build very cool.
Mark
-
RJ Guitars

- Posts: 2663
- Joined: Tue Nov 14, 2006 3:49 am
- Location: Los Alamos, New Mexico
- Contact:
Re: My vintage build
That is definitely a cool build!
Good, Fast, or Cheap -- Pick two...
http://www.rjguitars.net
http://www.rjaudioresearch.com/
http://diyguitaramps.prophpbb.com/
http://www.rjguitars.net
http://www.rjaudioresearch.com/
http://diyguitaramps.prophpbb.com/